


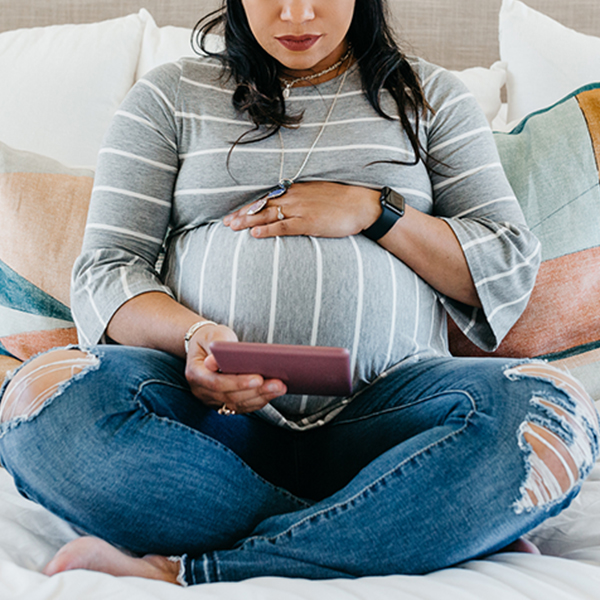

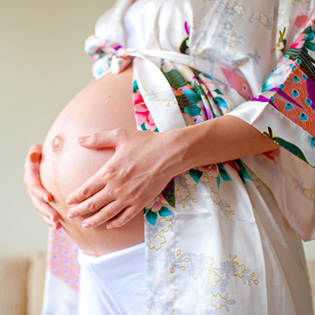


Pregnancy Health
Stay healthy throughout your pregnancy with these prenatal guidelines and solutions. And if you do get sick (whether you're attacked by allergies or felled by the flu), know that there are ways to get relief that are safe for you and your baby.
Healthy Pregnancy Lifestyle


SHOW MORE
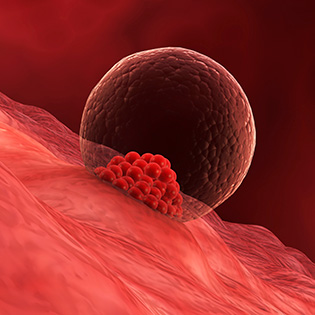
Pregnancy Complications


SHOW MORE
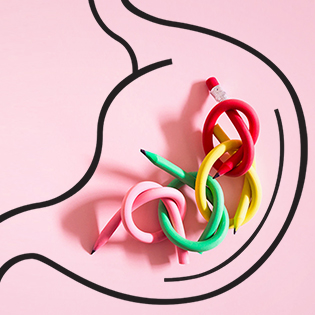
Common Illnesses and Conditions


SHOW MORE
Rare Health Conditions During Pregnancy


SHOW MORE
Postpartum Health


SHOW MORE


The educational health content on What To Expect is reviewed by our medical review board and team of experts to be up-to-date and in line with the latest evidence-based medical information and accepted health guidelines, including the medically reviewed What to Expect books by Heidi Murkoff. This educational content is not medical or diagnostic advice. Use of this site is subject to our terms of use and privacy policy. © 2005-2024 Everyday Health, Inc., a Ziff Davis company.
A property of  Opens a new window